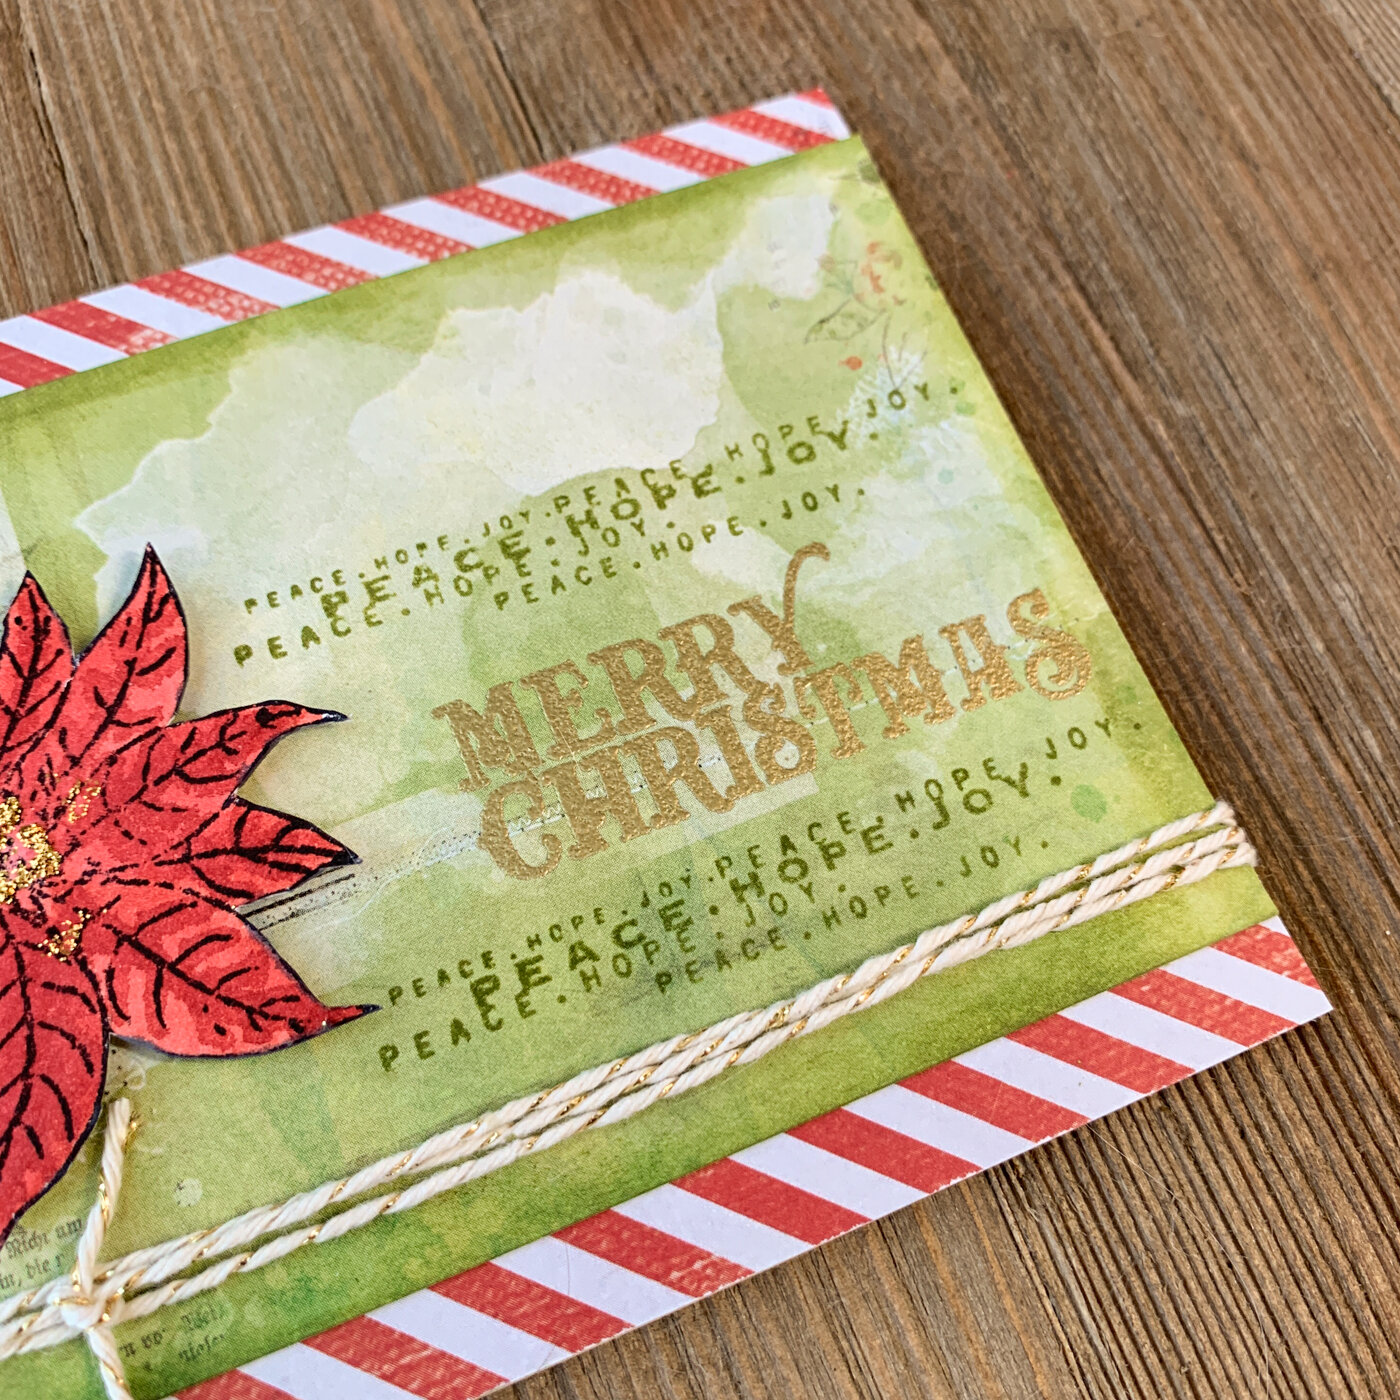
Vintage Christmas Card Fun with 49 and Market!
It’s time for more World Cardmaking Day inspiration! Today, I’m sharing a card made with the fabulous Vintage Artistry Noel collection that Katie Pertiet has created for 49 and Market.
[Disclaimer: Some links in this article are affiliate links that pay this site a commission at no cost to the reader when a purchase is made after a click.]
I’ll admit…this entire card was designed because I wanted to play with this beautiful poinsettia stamp Katie designed! i just can’t resist a good poinsettia design for the holidays. Here in Florida we can actually grow them outside at Christmas!
Supplies:
49 and Market 6x6 paper pad - Vintage Artistry Noel (Scrapbook.com, A Cherry On Top)
49 and Market stamp set - Vintage Artistry Noel (Scrapbook.com, A Cherry On Top)
Ranger Distress watercolor paper (Scrapbook.com, A Cherry On Top)
Ranger Tim Holtz Distress Ink Pad:
Embossing (Scrapbook.com, A Cherry On Top)
Hickory Smoke (Scrapbook.com, A Cherry On Top)
Fired Brick (Scrapbook.com, A Cherry On Top)
Shabby Shutters (Scrapbook.com, A Cherry On Top)
Peeled Paint (Scrapbook.com, A Cherry On Top)
Ranger Embossing Powder - Gold Super Fine Detail (Scrapbook.com, A Cherry On Top)
Ranger Heat It Craft Tool (Scrapbook.com, A Cherry On Top)
Ranger Stickles - Golden Rod (Scrapbook.com, A Cherry On Top)
baker’s twine
Scrapbook Adhesives by 3L - 3D Foam Squares (Scrapbook.com, A Cherry On Top)
card base
I started by stamping the poinsettia in Ranger Archival ink. Once that was dry, I dabbed my Fired Brick on my Ranger craft mat to create a palette of color. Then I just used my waterbrush and colored in the poinsettia with the red as if it were watercolor. I used my heat tool to dry it, then applied Stickles to the center for a touch of holiday sparkle! Then I set it aside to dry. (Once dry, it needed to be cut out with fine tipped scissors - my Fiskars Micro-Tips did wonderfully for it.)
Next it was time to start cutting that beautiful paper! I cut two strips of the striped paper that are 3/8” wide. Then I glued them to the top and bottom of a card base, and trimmed off the ends.
Next I cut a 3.5”x 5.5” piece of the green patterned paper to use as the main part of the card front. I stamped the Merry Christmas with embossing ink and heat embossed it in gold. Then I added the two “peace hope joy” stamps above and below it in Peeled Paint. Doing it in this order helped ensure that the embossing powder wouldn’t stick to the other sentiments by accident if they weren’t quite dry. For the finishing touch I inked the edges, first with Shabby Shutters and then with Peeled Paint. It provides a nice vignette effect!
The final step is to attach it all together (using foam adhesive for the flower) and tie some pretty baker’s twine around it!
I hope everyone has a wonderful and creative World Cardmaking Day on Saturday!


